Battery testers are essential diagnostic tools for every automotive workshop—whether you’re servicing vehicles at a dealership, an independent repair shop, or managing a fleet. These instruments help technicians quickly evaluate battery health, identify performance issues,
and determine if a battery requires recharging or replacement. However, even the most reliable battery testers can occasionally display error messages. If these errors are ignored or misinterpreted, it can lead to inaccurate diagnostics, unnecessary battery replacements, and wasted time. More importantly, it may result in customers returning with the same electrical or starting problems because the real issue was never resolved. Understanding what battery tester error messages mean—and knowing how to correct them—helps technicians make accurate assessments the first time. This not only improves workshop efficiency but also boosts customer trust and satisfaction. In this guide, we’ll explore the most common battery tester error codes, what causes them, and how to troubleshoot each one effectively.
- Battery Voltage Too Low
If the tester displays a “Low Voltage” error, it means the battery voltage has dropped below the level required for the tester to perform an accurate reading. Most standard testers need at least 9.6 volts to function correctly, and anything below this can prevent the test from completing. This error often occurs when a battery is deeply discharged, which can happen if a vehicle has been sitting unused for an extended period, if an interior light was left on, or if there is an excessive parasitic drain. Another possibility is sulfation, where lead sulphate crystals build up inside the battery, reducing its capacity. To troubleshoot, check the battery terminals for corrosion or loose connections that could be preventing the tester from making proper contact. If everything looks good, attempt to recharge the battery and retest. If the battery won’t take or hold a charge, it may be too far gone and require replacement.
- Surface Charge Detected
A “Surface Charge” error indicates that the battery retains residual voltage from recent charging, potentially leading to a misleadingly high voltage reading. This often happens if a vehicle was recently running or if a charger was disconnected just before testing. The tester detects this abnormal charge and flags it as an issue. To get an accurate reading, the surface charge needs to be eliminated. The easiest way to do this is by applying a small load to the battery. Turn on the headlights for about 60 seconds, then turn them off and retest. This drains the excess charge and allows the tester to measure the battery’s actual state of charge.
- Battery Not Detected / Connection Error
If the tester displays a “Battery Not Detected” or “Connection Error” message, it means the tester isn’t receiving a signal from the battery. This is typically caused by poor connections between the battery terminals and the tester’s clamps. Corrosion, loose terminal connections, or damaged battery cables can all contribute to this issue. Start by inspecting the battery terminals and the tester’s clamps to make sure they are clean and secure. If corrosion is present, use a battery terminal cleaner or a wire brush to remove it. If the issue persists after cleaning the terminals and ensuring a solid connection, the battery may have an internal failure, preventing it from accepting or delivering power. In that case, try testing with a different battery tester or checking the battery with a multimeter to confirm whether it is entirely dead.
- Internal Resistance Too High
When a battery tester reports that the internal resistance is too high, it’s a warning sign that the battery’s ability to deliver power has typically been compromised. High resistance means the battery struggles to supply the necessary current for starting the engine, which can result in slow cranking, dim lights, and poor electrical system performance. The most common cause of increased internal resistance is sulfation. When a lead-acid battery is left in a discharged state for too long, lead sulphate crystals form on the battery plates, hardening over time and reducing the battery’s efficiency. Batteries that are frequently deeply discharged or exposed to extreme temperatures are more susceptible to this problem. If a tester flags high internal resistance, the first step is to attempt a slow charge. Some chargers can break down sulphate build-up with extremely slow charging, but if the battery still won’t test after charging, it’s likely beyond recovery and should be replaced.
- Test Interrupted / Unstable Voltage
A “Test Interrupted” or “Unstable Voltage” message appears when the voltage fluctuates too much during testing, making it impossible for the tester to get a reliable reading. This issue can stem from loose terminal connections, electrical noise from vehicle accessories, or even problems with the charging system. To minimise fluctuations, ensure that the tester’s clamps are correctly attached to the battery terminals. If the clamps are loose or not making full contact, the tester may struggle to maintain a stable reading. Another potential cause is vehicle electronics interfering with the test. Turn off all accessories, including the radio, climate control, and lights, before testing the battery. If the issue persists, check the vehicle’s alternator output.
- Charge & Retest
When a tester gives a “Charge & Retest” instruction, it means the battery’s voltage is too low to provide an accurate reading, but the tester has not yet determined that the battery is completely bad. This message indicates that the battery might still be salvageable with a full charge. A deep discharge can happen if the vehicle hasn’t been driven for a long time, if an accessory or light was left on, or if the battery has been exposed to extreme temperatures. To determine whether the battery is still usable, fully charge it and let it sit for a few minutes before testing again. If the second test still shows it’s weak, the battery may no longer be capable of holding a sufficient charge and should be replaced. However, if it recovers after charging and passes a test, advise the customer to monitor it.
- Replace Battery
When a tester displays “Replace Battery,” it’s usually a clear sign that the battery is no longer capable of holding a charge or providing enough power for the vehicle. It’s determined based on several factors, including voltage, cold cranking amps, and internal resistance. Before replacing the battery, the connections should be double-checked and retested to confirm the result. Also, the charging system must be inspected to make sure the alternator is functioning properly. Replacing a battery without addressing a faulty charging system will only lead to repeat failures.
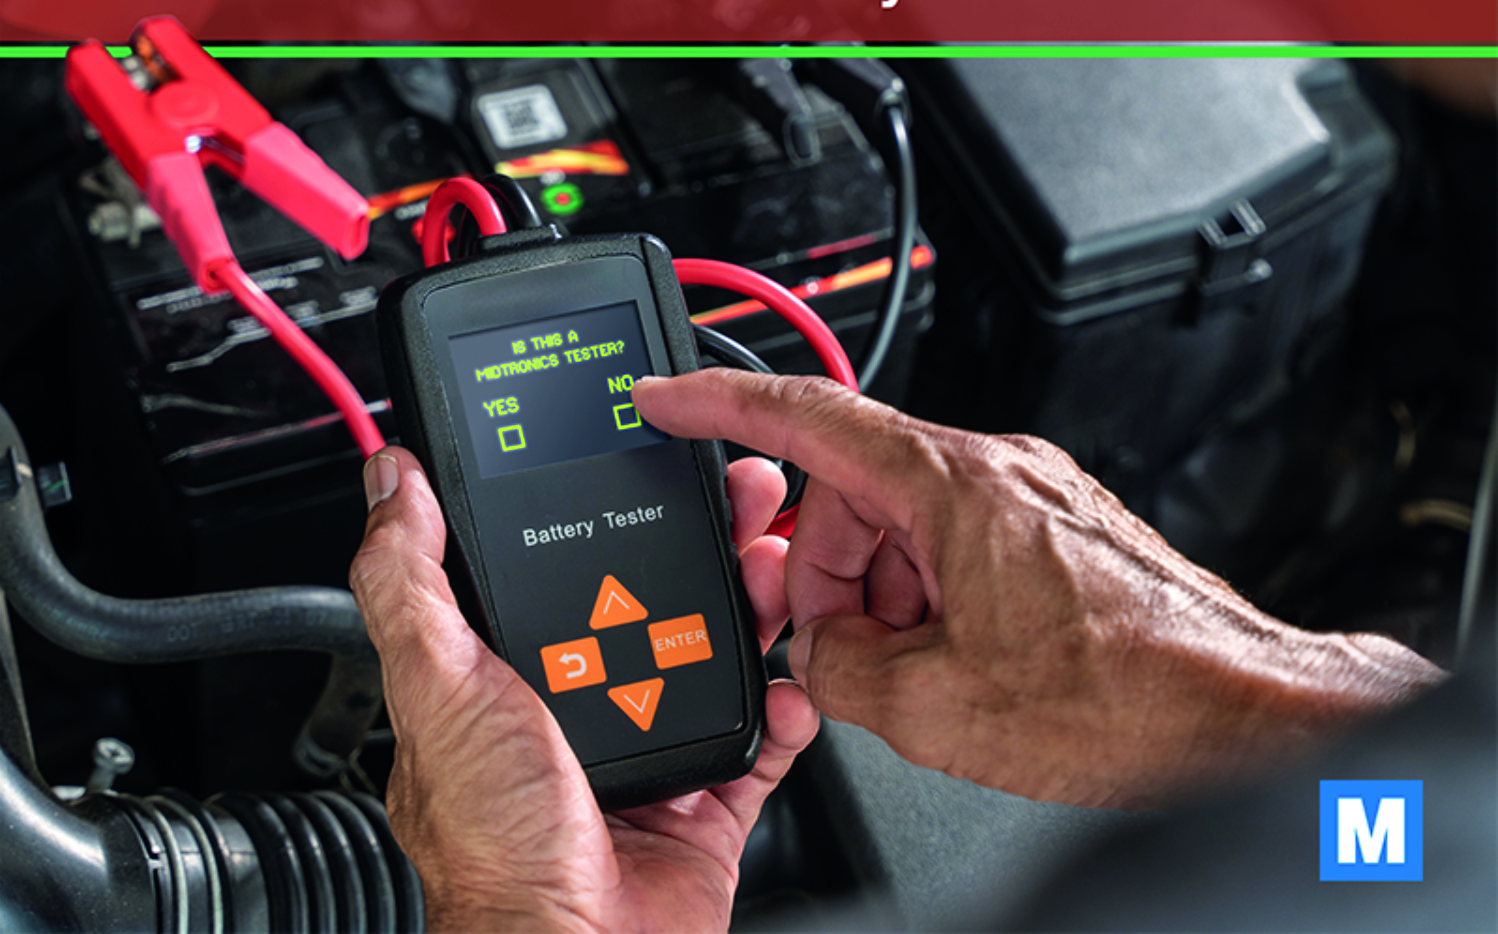
Reliable Testing with Midtronics
Understanding battery tester errors can save time, prevent a misdiagnosis, and help provide better service to customers. When it comes to battery diagnostics, using a high-quality tester is just as important as knowing how to interpret the results. Midtronics has been the industry leader in battery testing and diagnostics for decades, providing advanced tools trusted by professional technicians worldwide.
If you’re looking for the most accurate and reliable battery testing equipment, explore Midtronics’ full line-up of diagnostic solutions today, including the MVT battery tester, powered by MDX-AI, that all but eliminates “Charge & Retest” results.